KID control is a way to block devices to go onto the internet on certain times.
Step 1: Adding a KID
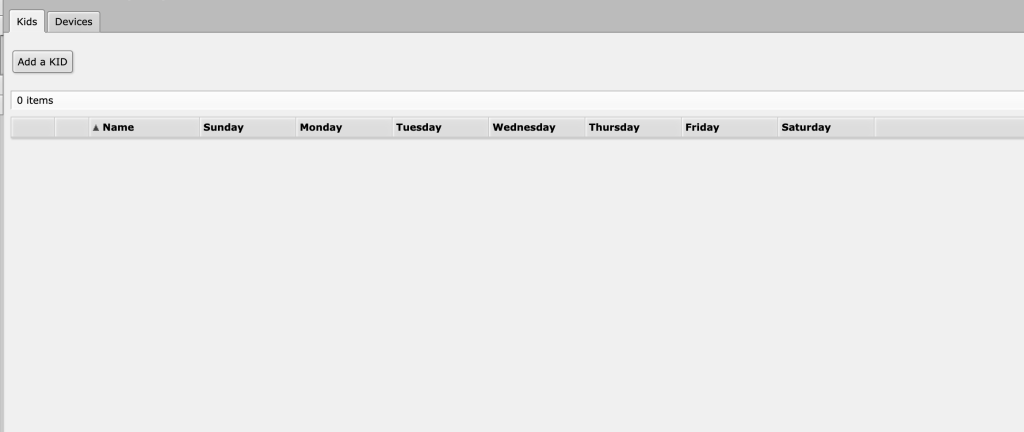
On the first Kids page, you can see all created KIDs.
To create a KID, pres the “Add a KID” button on top of the page

in the menu you got, you see a few things:
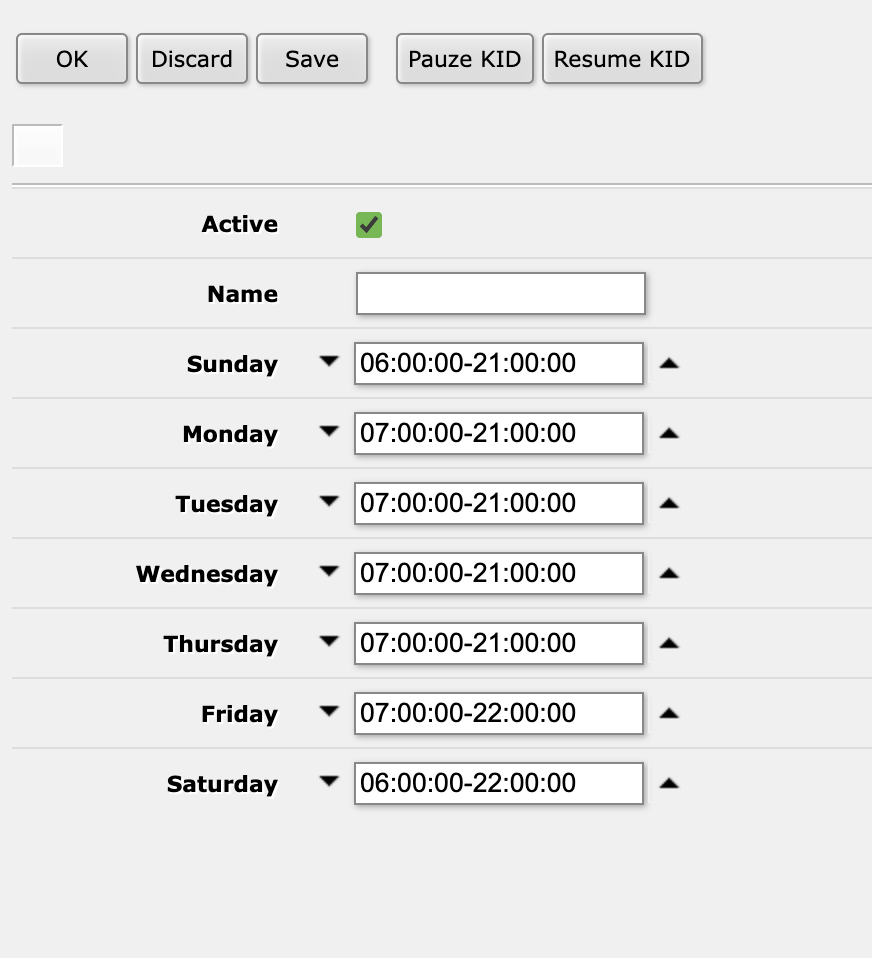
- On top you see the normal Ok, Discard and Save buttons.
But you can also find the Pauze KID and Resume KID buttons. These buttons pauze the set scheme or resume the scheme. - Active: Whether restrictions is enabled or disabled
- Name: Name of the Kids profile
- Days of the week: Each day of week. Time of day is selected, when internet access should be allowed
- up and down arrows: if you wan to add an extra time zone to be active you pres the down arrow in front of the time zone. if you want to get rid of it, you pres the arrow up.
- KID control follows the time set in the router.
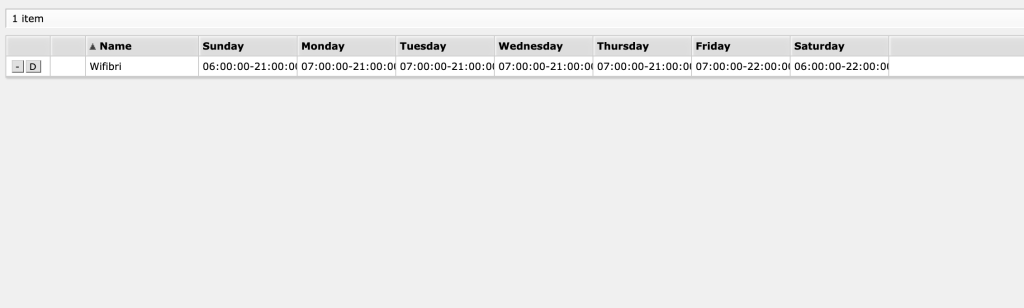
Once you’ve created your profile, you will find it in the Kids tab.
Step 2: assigning the Kid to its devices
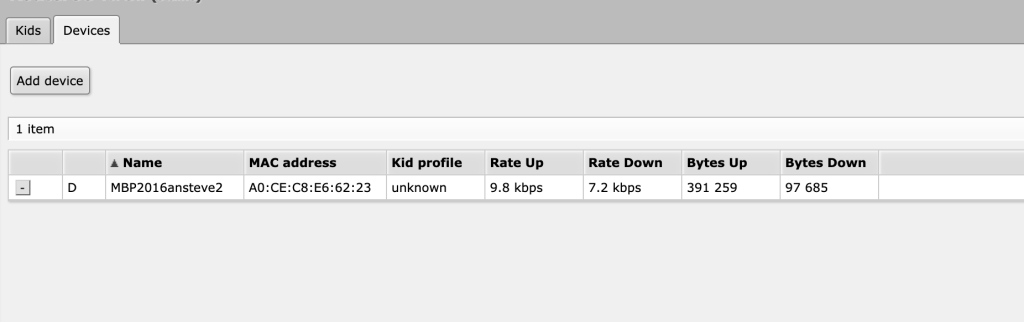
In the second tab, you will see all active devices and the assigned KID profiles
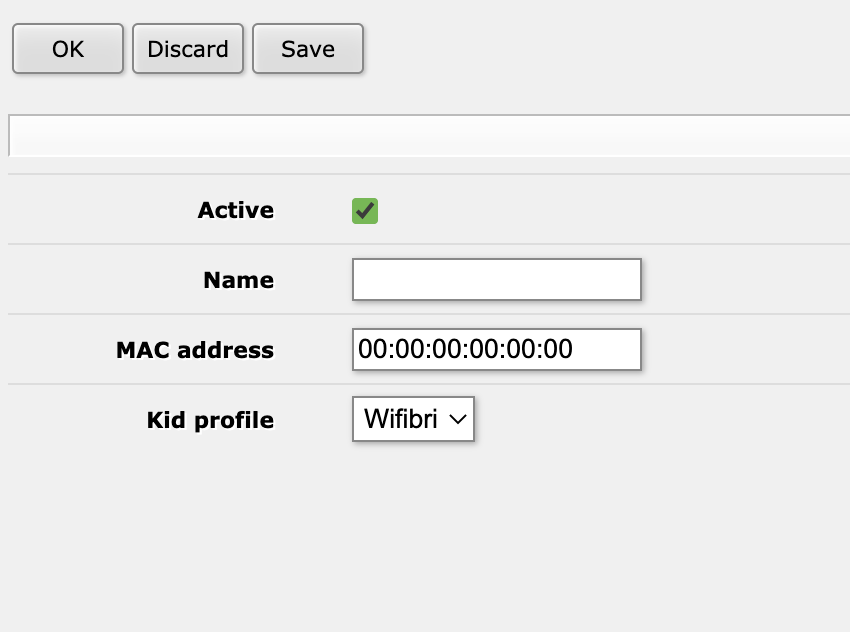
To add a device, you need to copy the MAC address of the device and pres the “Add device” button
In the next menu, you just need to enter the name of the KID, change the MAC address and assign the correct KID Profile.
Then pres ok.